Okay, ya'll, today's project is quite possibly my favorite one to date! It is an old dresser repainted, but it is SO much more than that! It is a successful venture into the furniture painting realm and a major boost to my crafting confidence. I am absolutely loving that this project is done for a few reasons:
1. It makes my bedroom look pretty
2. It finally ties in the blues that I had put in my room in anticipation of this project's completion
3. IT IS OUT OF MY GARAGE! WHOOOOOP! I now have space for other projects!
Let's get to it!
The dresser for today's project belonged to my great-grandmother before she passed away, so it has a lot of sentimental value to me. This is also part of the reason this project took me about 5 months to complete. After every step of the project, I waited a couple months to do the next coat of paint partially because I wanted to let the paint dry really well, but mostly because I was so scared of messing up!
Here's what the dresser looked like when I got it:
Once I figured out what I wanted to do with this dresser, I started to take the drawers out to get it ready for painting, and guess what I found!?
The dresser was 100 years old (I started the project in October 2012)! This only added to my nervousness!
Real talk for a second: This is the first time I've ever done a project like this, so I required A LOT of question and answer sessions with the dude at the Lowe's paint counter, we shall call him Joe. :) Also, just FYI, I got everything for this project from Lowe's. So, if you decide to tackle a similar job, that will be where you can find every single bit of the products I used.
The guidance Joe gave me is as follows:
1. You don't have to sand it down to remove old paint, you can just use a paint primer instead to make it easier! Joe, you get 10 imaginary points from me for that advice. I did not want to sand down that dresser!
**Pre-painting note** Don't forget to put down a painting drop cloth - I got a plastic one from Lowe's
Here's the primer Joe recommended:
It is Zinsser Cover Stain Primer
I used a 2 inch paintbrush to paint the primer on to the dresser...

...and here's what the dresser looked like after the coat of primer:
Little note of advice: don't try to clean the paintbrush you used for the primer. Just put it in an old grocery bag and throw it away. It is not worth having a primer-stained hand for the next 24 hours! Learn from my mistakes, people!
2. I waited a couple weeks to put the first coat of paint on after the primer (shout out to Joe for that advice) because the primer needed a little bit of time to set before another coat of paint was added.
I used a Satin paint (thanks, Joe) on the first coat. Apparently Satin paint is the way to go for your base coat if you're doing crackle paint.
The color of paint I used for the base coat is called 3003-10C Cream in My Coffee.
Again, I used another 2 in paint brush to paint this on. Here's what it looked like after this step:
3. Now, after painting the base coat, I waited a couple months to let the base coat really set and to allow myself to play around with the crackle paint to find the best type of paint brush/roller for the final project (shoutout, Joe!).
So, during those few months, I experimented on pieces of scrap wood (I live in a new neighborhood, so I just went around to the construction sites and picked out pieces of wood from the trash piles).
The 2 options I had for how to accomplish the crackle look were to use a
small 3/8 in Roller or a 2 in Paintbrush

vs.
So, basically, I took the scrap wood and labeled one side "Roller" and the other side "Brush." I painted the base coat of Cream in my Coffee (from Step 2), waited a day, then painted the crackle glaze paint and immediately painted the top coat (the blue-ish color) before the crackle had time to dry. I did this to both sides, but used the Roller and Brush on their respective sides to see which one provided the look I was wanting.

I really like the way the brush side looked on my scrap piece, but I ultimately ended up using the roller on the dresser because the brush took a long time and if you go back over a section that you've already painted, it ends up messing up the crackle look if you are using the brush. With the roller, the crackle effect still works out even if you go over a section twice (although I still would not recommend doing that)! This effect is most appealing when you only go over each piece once with your roller/brush. If you miss a small area, it adds to the character of the piece. Mistakes are beautiful, my friend!
4. After waiting 2 months from the base coat painting day, it was time to get to the crackling and top-coat-painting! Here's the crackle product I used:
And here's the paint I used for the top coat:
It is important to notice, I used a Flat paint for the top coat!
In case you can't tell, the name of the paint color is 5004-BC Ocean Slumber.
i LOVE this color!
Okay, so this step in the process is the most tricky. You have to paint the crackle glaze on (I used a roller brush on this step) and then within 30 minutes of painting that on (aka before it dries), you have to get the top coat painted on - I used a roller brush for this coat, too!
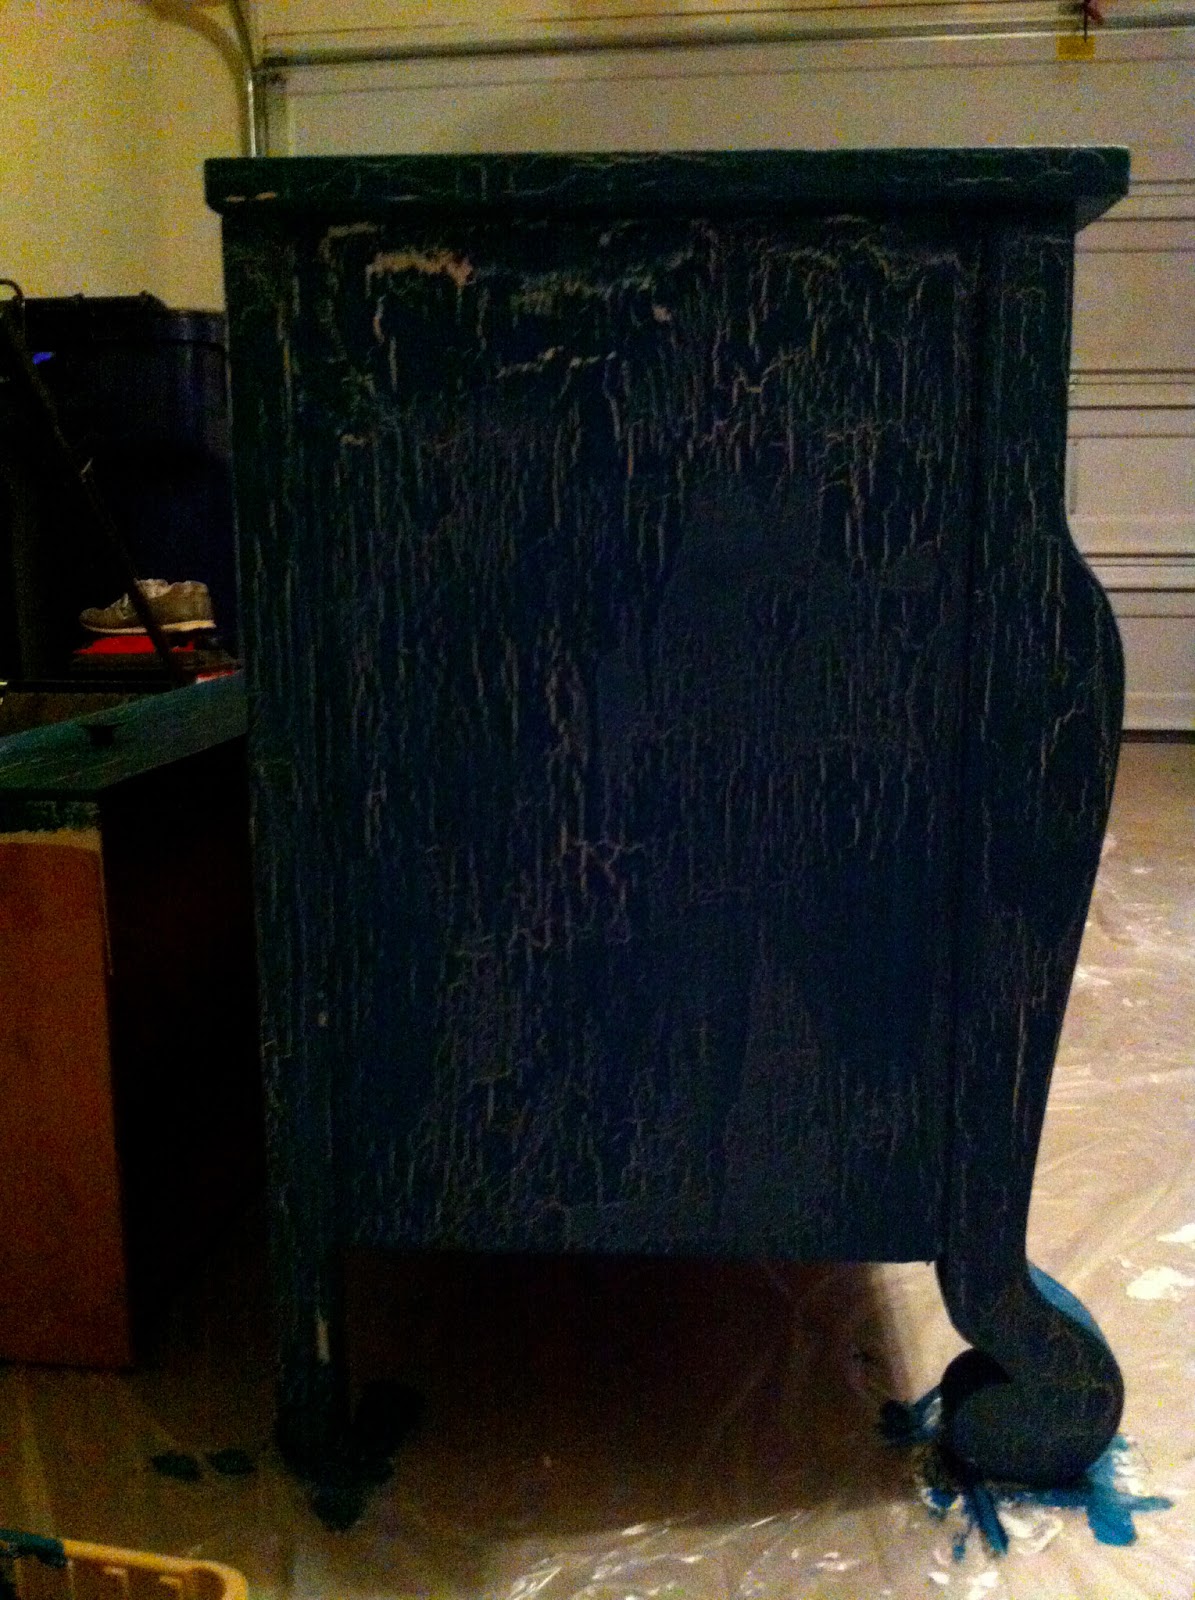
Here's what the dresser looked like when it was all done being painted:
 |
| Look, ma! No drawers! |
 |
| Top of the dresser | |
 |
| Drawer #1 |
 |
| Drawer #2 and my feetsies :) |
 |
| Drawer #3 -Sorry for the lighting! |
|
|
 |
| Drawer #4 |
 |
| Right Side |
 |
| Left Side |
5. Once the crackle painting was done, I waited another couple of months and then sealed it with this stuff:
And, now, the moment you've all been waiting for! The final product...
 |
| My puppy, Roo, just had to get in a shot! |
I've got a towel sitting under the TV just in case! I'm going to mount that TV on the wall after I paint my house this Summer, so that towel will only be there for a few months.
For a recap of supplies, here's what you need:
Here's the supply list written out in no particular order:
1. Zinsser Cover Stain Primer
2. Valspar
Satin Paint & Primer (Color: 3003-10C Cream in My Coffee)
3. Valspar
Flat Paint & Primer (Color: 5004-BC Ocean Slumber)
4. Valspar Unique Interior Faux Finish Clear Protector
5. Valspar Weathered Crackle Glaze
6. 3/8 inch mini rollers (I used 2 of them for the Crackle Glaze and Top Coat)
7. Roller handle
8. 2 inch paintbrushes (I used 3 of them for the Primer, Base Coat, and Clear Protector)
9. Painting drop cloth
10. And, of course, the furniture you're going to paint!
This project was so beyond easy, and I encourage you to get out there and crackle paint something of yours! Jewelry boxes are great for your first attempt at this :) I'm a huge klutz, especially with paint, so if I can do this, so can you!
Transform your furniture, and share your before and after photos with me!
Get your paint on!
the craft rookie