Ok, so today's craft comes from pinterest
:) I found a cute idea for a hanging pocket that your ipod/iphone sits
in while it charges. The original example can be seen here.
What
I loved about this idea - it keeps my phone off of a surface in my
house. I absolutely dislike clutter of all kinds, and the phone with
the power cord with the ughhhh feeling I get are easily mended with this
cute fix.
What I disliked - they just posted pictures with no tutorial! So, here I go again. I made my own version of the original.
Here's what I ended up with:

Total cost?
$1.25
And, now for the tutorial...
I
started with 1 sheet of felt and the fabric was actually from a
bandana. Obviously, you don't need a lot! The other materials I used
were scissors, needle and thread, sewing pins, and my phone. I would
recommend using a strong felt. I used flimsy felt and it's a little weak.

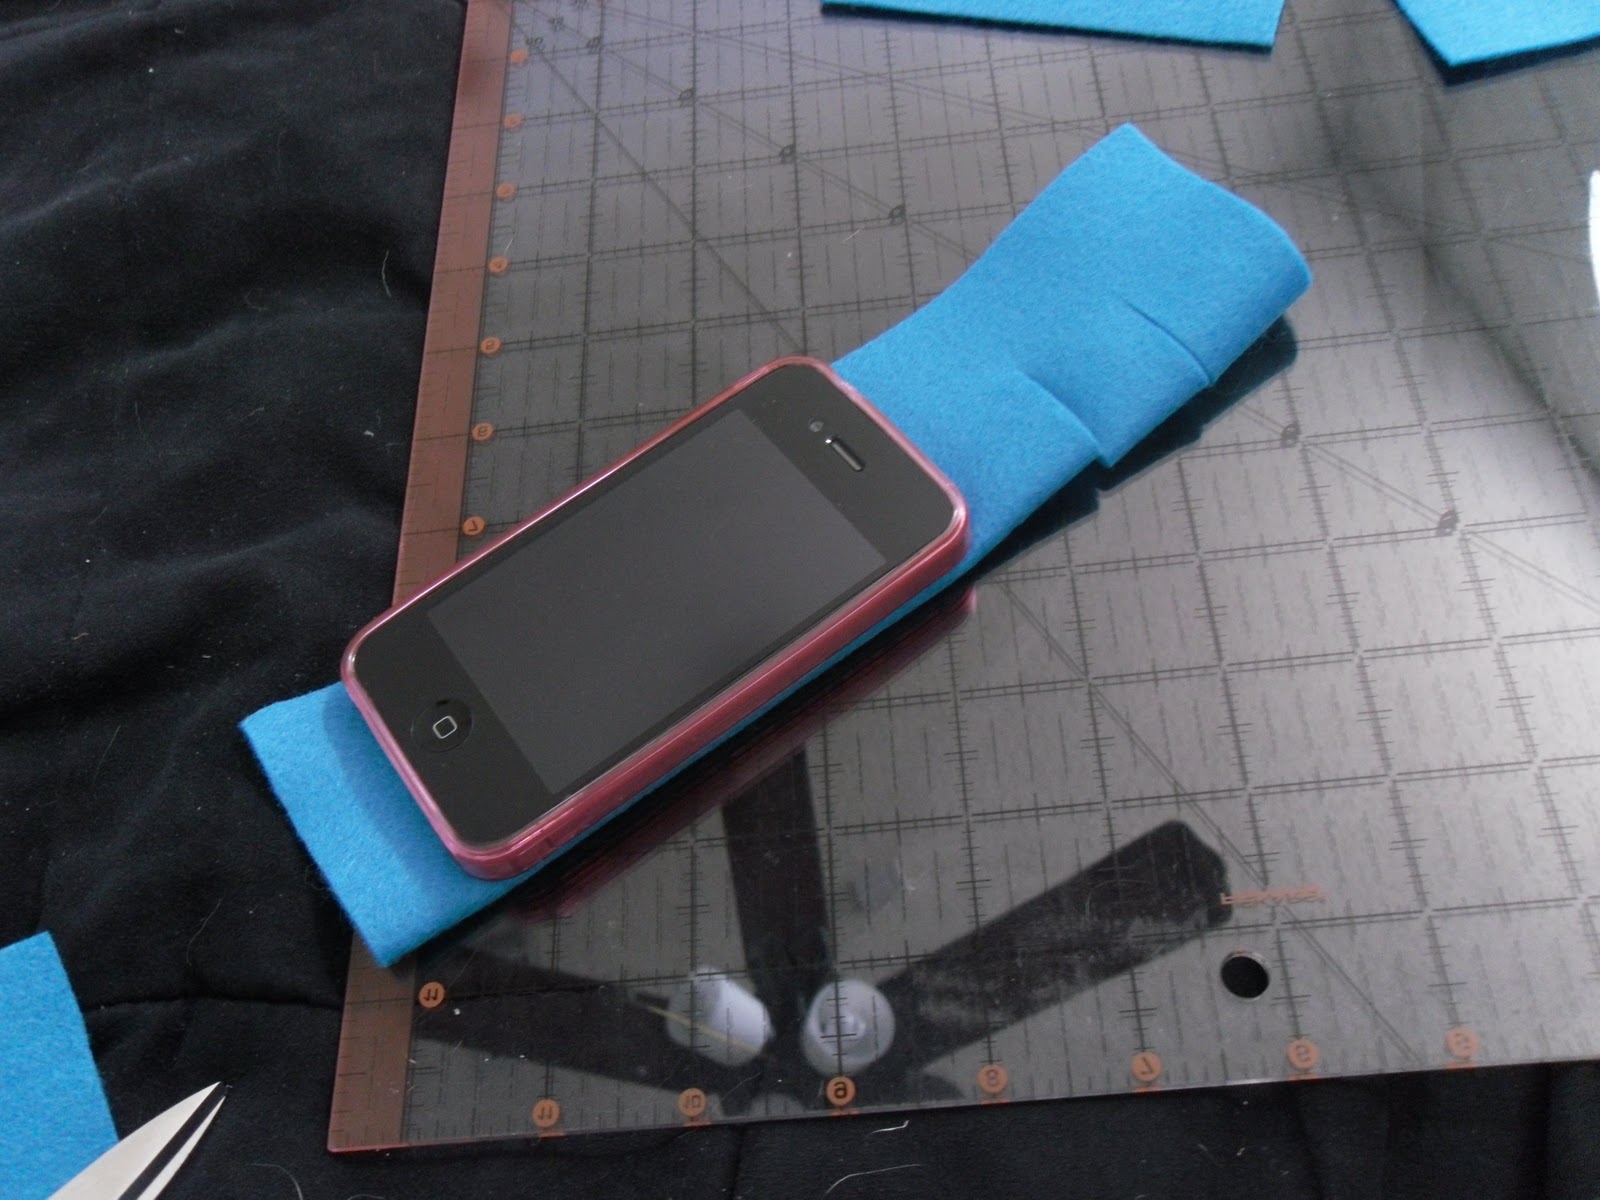
I
started by cutting the felt in half hot dog style. If you just have a
sheet of felt from buying a yard or so, then what you can do is lay your
phone on the felt and leave about a half inch to 3/4" space on either
side of your phone (this is to allow leeway for the fabric when you sew
it down). Then, you can lay that over more felt and cut an exact copy.


Then, I folded my first piece of felt
in half again, hot dog style so that i could easily cut a rectangular
hole in the felt towards the top. This is to create the "hanging"
section of the whole project.

I
did this for both pieces of felt. To ensure that the hole was in the
right position and just about the same size, I used the first piece of
felt that I had already cut as a stencil for the second piece.

This method does not create exactly identical pieces of fabric, but that's not important.
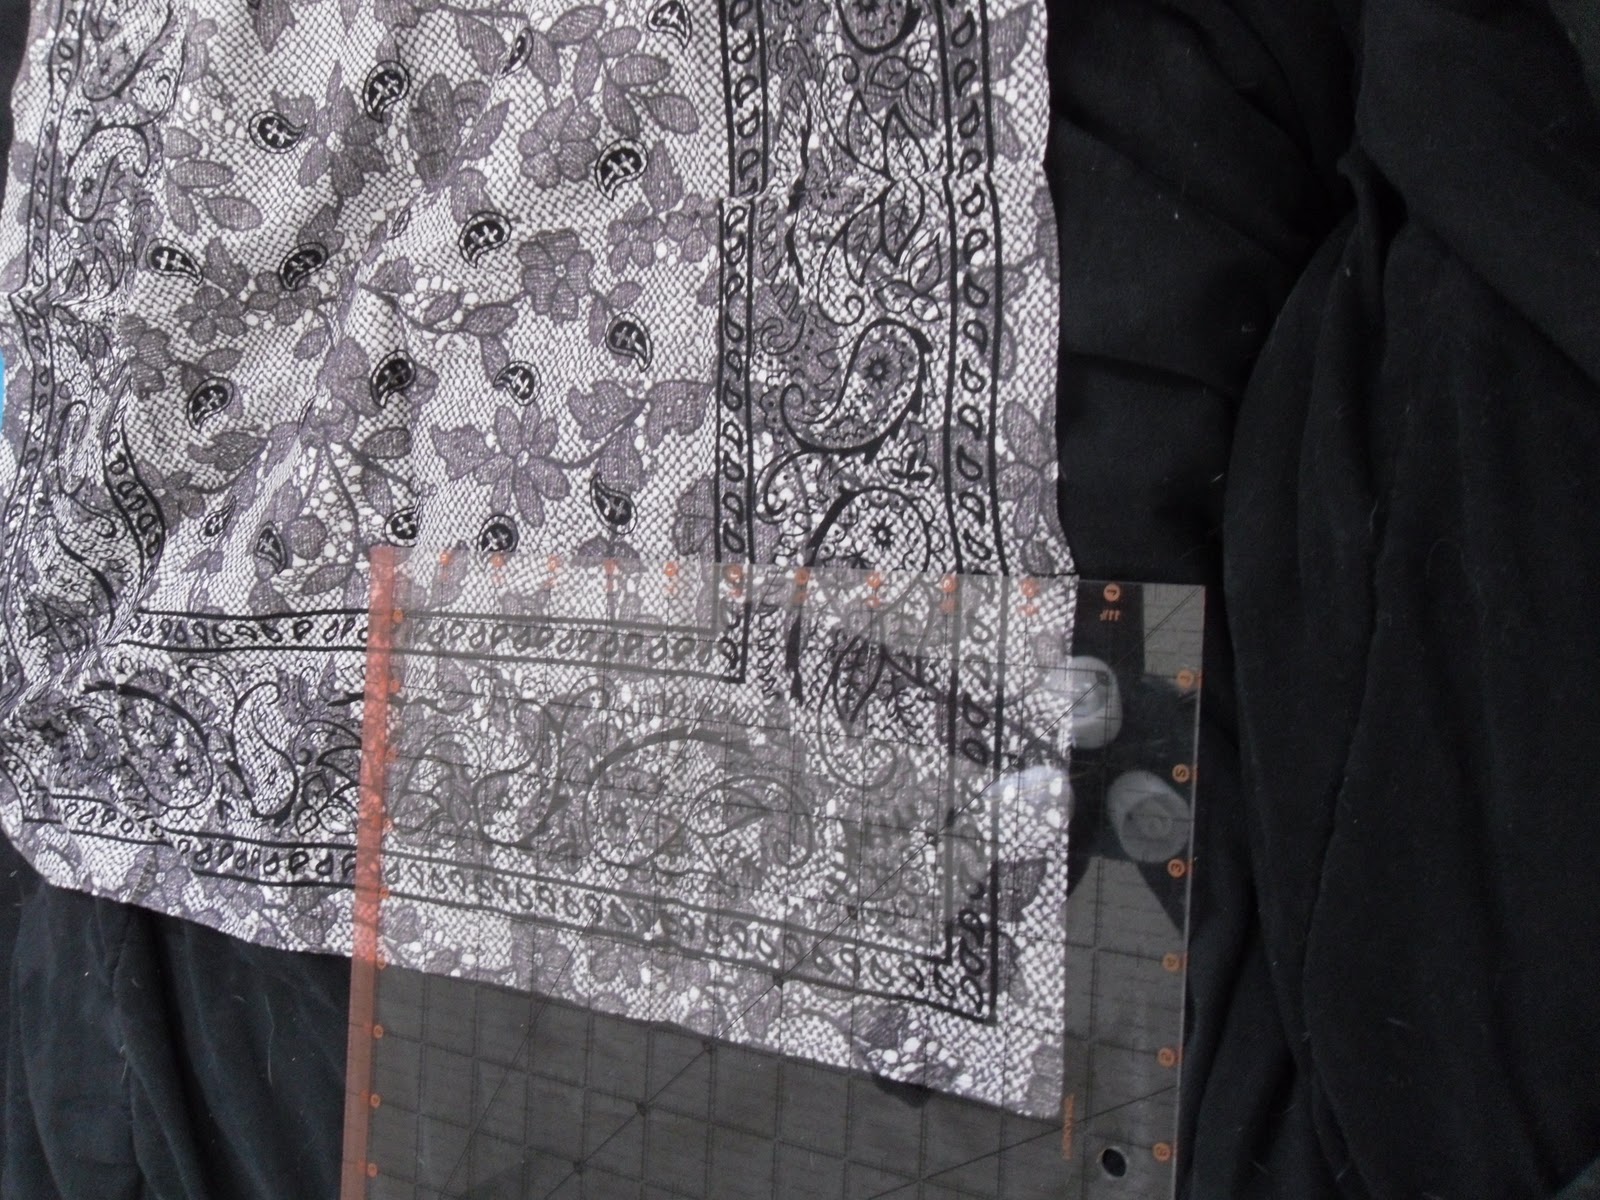
Next, I cut my fabric for the pocket. I
used my measuring mat as a way to ensure a straight cut. But again,
this is not a necessary step. I made sure my fabric that I cut was
larger than my phone by about half an inch width. This allows for the
pocket to "give" when the phone is placed in it.
Next, I placed my fabric on one of the felt pieces. This will be the front of your hanger.

I
first sewed the bottom of the pocket down so that I had a starting
point for pinning the side pieces. I pinned the bottom and sewed the
bottom (this entire project was done by hand - no machine).


Here's proof that it's been sewn! I don't know why I felt this was necessary to share...but, nevertheless, it made the cut.

Next,
I put my phone under the fabric (like I was tucking it in for
bed...please, don't call me crazy for that simile). Then, I pinned
around the side with the phone still in the pocket. I did this to
ensure that my phone would be able to fit in the pocket once it was all
sewn down.


Once
that's done, you're on the home stretch! Now, I put the other piece of
felt on the back and pinned it around the edges. I did this to create
extra strength. I used kind of a flimsy felt, which I quickly learned
wasn't the best idea.

I sewed around the outside border, and then I also sewed around the inner rectangle.

And, now you're done! Check to see if your phone fits...and voila!

Then, hang it up and ENJOY!
By the way - you can also take a piece of ribbon and tie it to your bed post. This is what I've done because I use my phone as my alarm :)

By the way - you can also take a piece of ribbon and tie it to your bed post. This is what I've done because I use my phone as my alarm :)

Charging my phone and loving it,
the craft rookie
No comments:
Post a Comment