So, because my family likes to be different, we decided not to celebrate Thanksgiving on Thanksgiving day. Weird, I know. This is especially weird this year because no one had to work today. The Nurses, Firefighter, Salesman, etc, etc all had the day off - with exception to my brother (aforementioned firefighter) who had to work this morning and got called out to a fire at a night club just as his shift was about to end.
What does my family do on Thanksgiving when we aren't actually celebrating Thanksgiving? Well, we CRAFT of course! But not before we get some good eats in our bellies! My sister woke me up this morning with a text message: "Cream of Wheat for breakfast! Come over!" She stayed at my parents house last night with her daughter, and they know that's the fastest way to get me to commit to anything. Just give me Cream of Wheat - any time, anywhere, any situation.
So, what's a girl to do? I got out of bed, got myself dressed, said "Bye" to the roommate's cat (who slept faithfully by my side all night long) and hopped in my car. I turned the key and nothin'. I tried again....even more nothin'. So, I sucked up my pride and went over to my neighbors house to ask them for a jump, tail between my legs, so embarassed because I realized that I left the back hatch on my car open for a couple hours last night...I was the culprit - the dirty reason why my car would NOT START! Ugh!
The neighbor graciously agreed and I was on my way to my favorite breakfast ever!
When I got to my parent's house, I, no doubt, ate that delicious meal, and then we got started on crafting. I had a full menu of crafts I wanted to share with my sister and mom today, and I'm hoping that I didn't totally overwhelm them by the time I finally left at midnight!

The beginning of the day with us. Notice my cute little niece, Eden, sitting in her "Bumbo" seat. Apparently that's a work out for her little baby self. So, while she worked out and got baby-fit, we crafted. That sounds good, right?
First up: Making Rosettes out of Fabric strips. My sister and I pre-shopped yesterday and got a bunch of different fabrics. It started out a bit rough, but they got the hang of it! I must say, I was very proud of their first success of the day! To make a rosette, cut a LONG strip of fabric that's about 1.5" to 2" wide. Tie a knot at one end of the fabric. Then twist the rest of the fabric so that it is loosely coiled. Use some fabric glue (I got mine at Hobby Lobby) and spin the loosely coiled fabric around the knot. Put a dot of fabric glue on the center coil about every quarter turn (think of the flower as having a North, East, South, and West corner. Every time you hit N, E, S, or W, put a dot of glue). When you get to the end of your strip of fabric, leave about 2 inches of fabric loose from the rosette coil. Glue this to the back of your rosette to provide extra stability for your flower. The end result should look like the ones below that my mom created:

Mom went a step further by adding some green leafs to the back of her psychedelic-looking one, and we put Alligator clips on the back of all of them so that she can wear them in her hair. I didn't get any pictures of the ones my sister created, though, which was a bummer because they were cute, too.
Next: Yarn Wreaths. This was definitely an "Our eyes were bigger than our crafting attention spans" kind of project, but we faithfully plugged on (with many breaks for snacking, talking, snacking, watching the Cowboys & Aggie games, and playing with the baby). The wreaths took a very, very, very long time to complete, but they turned out super cute. I'm not completely finished with mine, yet, but the yarn wrapping part turned out awesome! I just have to add some "embellishments" to fancy them up a bit. Here's a picture of my almost-finished wreath:

I just love the combination of grey and pink. The cream was just a nice last-minute decision that I ended up really liking!
Here's my sister's completed wreath. Oh, and my sister. Say, "Hi!":

It's hard to see, but her rosette flowers are on her wreath on the right-hand side.
My sister-in-law was at the house when we started this project, and this is her cute wreath:

This has nothing to do with crafts, but my brother came by
with his wife to say hi, and he got to play with Eden for a little bit
while we wrapped our wreaths. Meet my brother, Jon. Or, as I refer to him: Broseph.

Isn't that just stinkin' adorable?
Next: More flowers. Felt flowers from a tutorial I found here. We made the flowers into hair bows, which are SUPER cute, and totally easy to make. They take a little bit more time than I was expecting just because you have to cut out 6-7 of those stenciled flowers for the final product. I altered this one just a smidge (because that's what I do), and I just packed them tightly together on the felt circle backing instead putting one in the middle like the tutorial said to. I ended up using only 5 of the stenciled cut-outs.
We attached all the flowers to alligator clips, again, and I immediately put mine in my hair.
Here are the final products...All of them :)

I ended up making a "mistake" that turned in to something kinda cool on this one. When I stenciled the flower pattern on the felt, I used black permanent marker. Then, when I cut them out, I didn't cut inside that permanent marker line so that it got removed. So, as you can see in the picture above, there is black marker on the edge of all the flower petals. I think it actually gives it a little depth. So, all-in-all, I'm happy with my mistake!
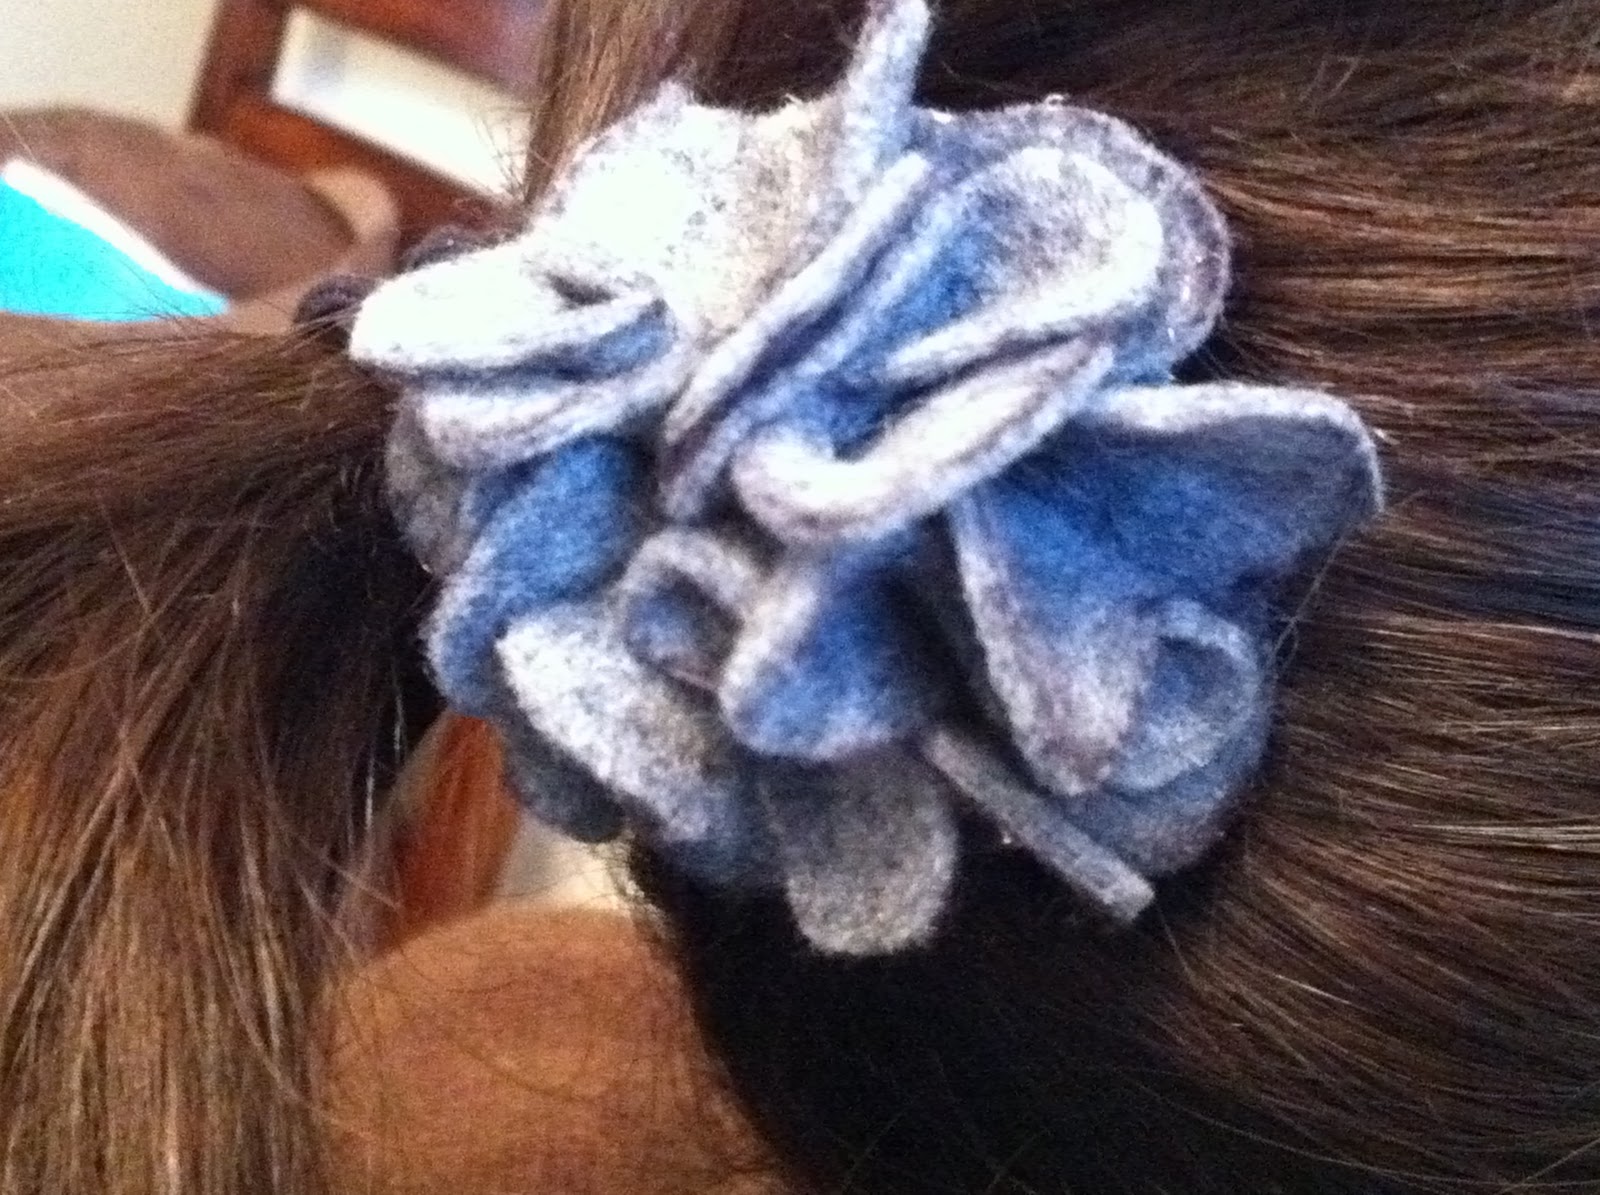
Does it look like I have grey hair in this photo?? Please tell me no and that I'm just paranoid!

(It's hard to tell, but this one's blue - for my mom to wear to work to match her scrubs!)

I made the white one for myself and cream ones for everyone :)
Final Project: Coasters. This was a craft idea I found on Pinterest, and fell in love with it. So, I decided to share, it was the hit of the day! I set out my large supply of scrapbooking paper booklets and let my mom, sister, and sister-in-law pick out whatever prints they wanted to use in creating their very own coasters. Once that happened, I had them cut out pieces of those pages that were 4"x4". Then, I introduced them to the tiles (ivory/cream bathroom tiles from Home Depot - 16 cents!) and Mod Podge (something my sister was a novice to).
We Mod Podged (yes, that's a verb!) the tiles, and then set the cut scrapbook paper down on it. The best part about this is that even once you set it down, the Mod Podge is still wet, so you have time to play with it and get the placement just right (makes me wanna say "Ahhh" - like I just drank a refreshing cola beverage of my choice).
Once that Mod Podge dries, I had them Mod Podge (there's that verb again!) over the top of the paper, let it dry, and repeat that. We cut out felt rectangles, squares, or circles (depending on their personal preference) to use as a backing for the tiles, hot glued those on, and sprayed the front with a clear gloss water-proof seal.
Here are the ones I created. I forgot to get a picture of my sister's and mom's sets:

We decided that my sister should make those coasters for her in-laws for Christmas with her daughters baby-feet and hands stamped on the 4"x4" squares of paper.
So, my mom and sister got little Eden to cooperate, and here is my sister creating Eden's Christmas presents to her Mimi and Paw-Paw (my parents) and her Grandma and Grandpa (my brother-in-law's parents).

My sister-in-law ended up having to leave to clean her house (because she and my brother are hosting Thanksgiving tomorrow), so we finished her coasters for her. We packaged them with the flower I made for her and some yarn from my sister's wreath to give to her tomorrow at Thanksgiving.

My Project: an iPad sleeve! More details to come...
Happy Thanksgiving to all you normal families out there!
Love,
the craft rookie
No comments:
Post a Comment